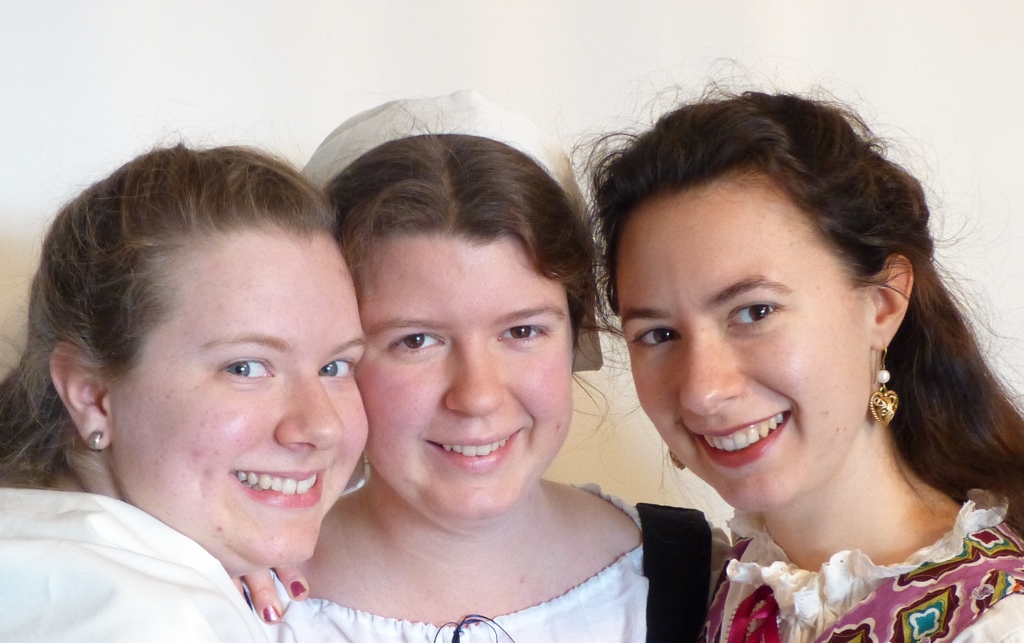
...My wonderful sisters!!
|
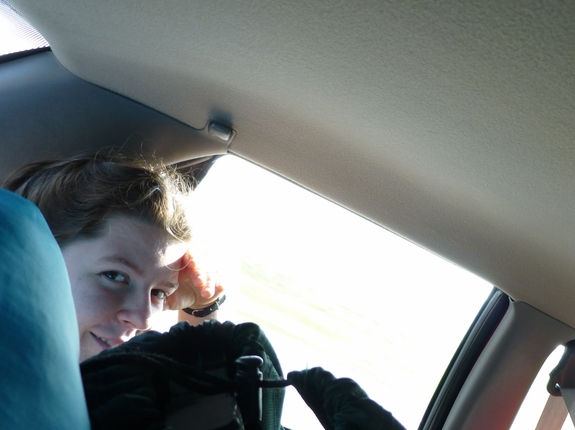
I had a grand time at the Reformation Day Fair this year! The talks were very informative and encouraging, and I had a wonderful time meeting new friends, fellowshipping, and being encouraged by all of the above. (Be sure to read Racheal's blog for m0re information about the event...) With no further ado I will share my pictures...which really are not very good quality, but maybe you all will enjoy them anyway : ) Friday afternoon travel.... 
Quite cramped don't you think? It could have been worse though...
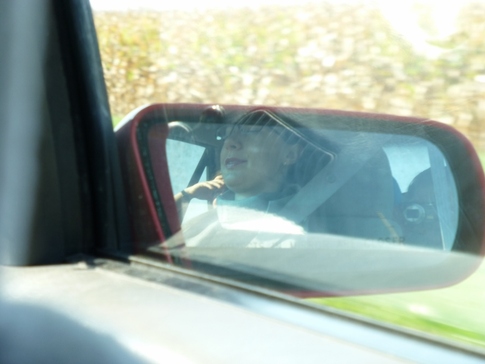
Hi Racheal...way over there on the other side of the mountain!! ;)
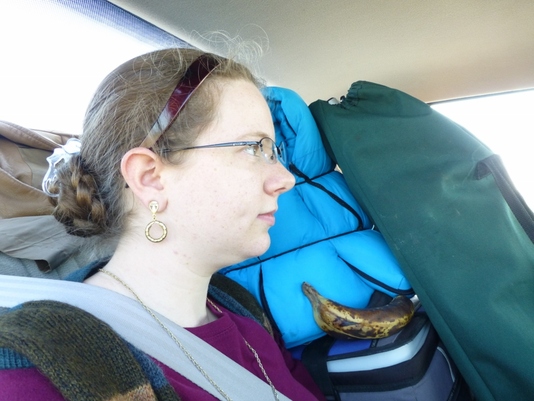
Savannah...relaxing : )
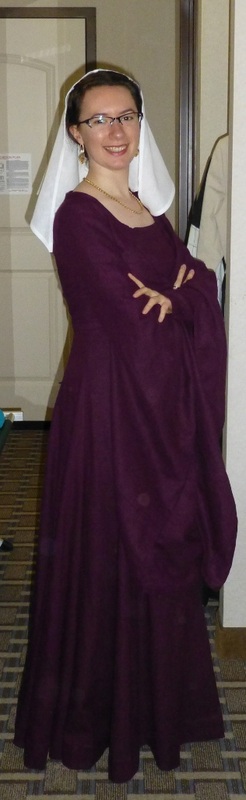
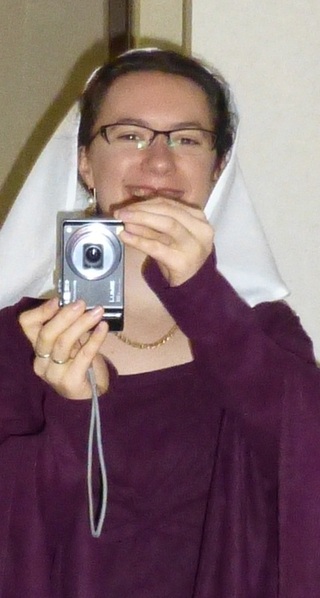
Myself...
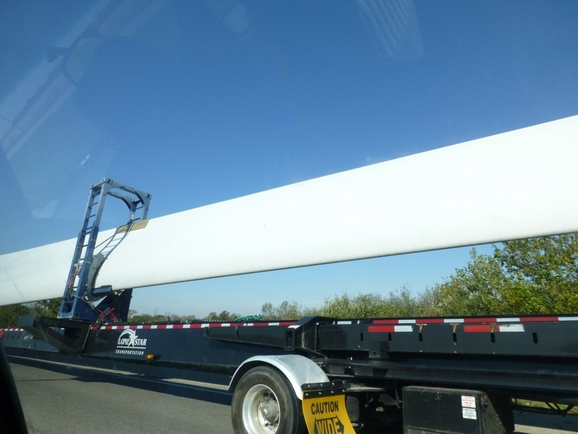
A wind mill blade on it's way...somewhere... Those things are huge!!
Saturday... 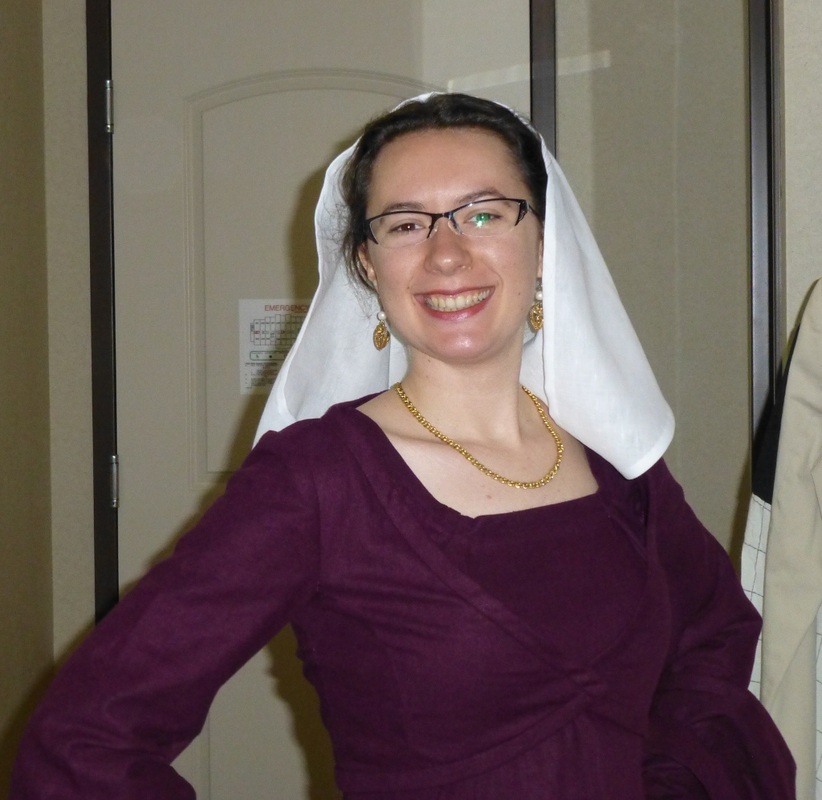
Beautiful Savannah...

Am I the only one who is hearing "Dueling Banjos" just now?

Mama
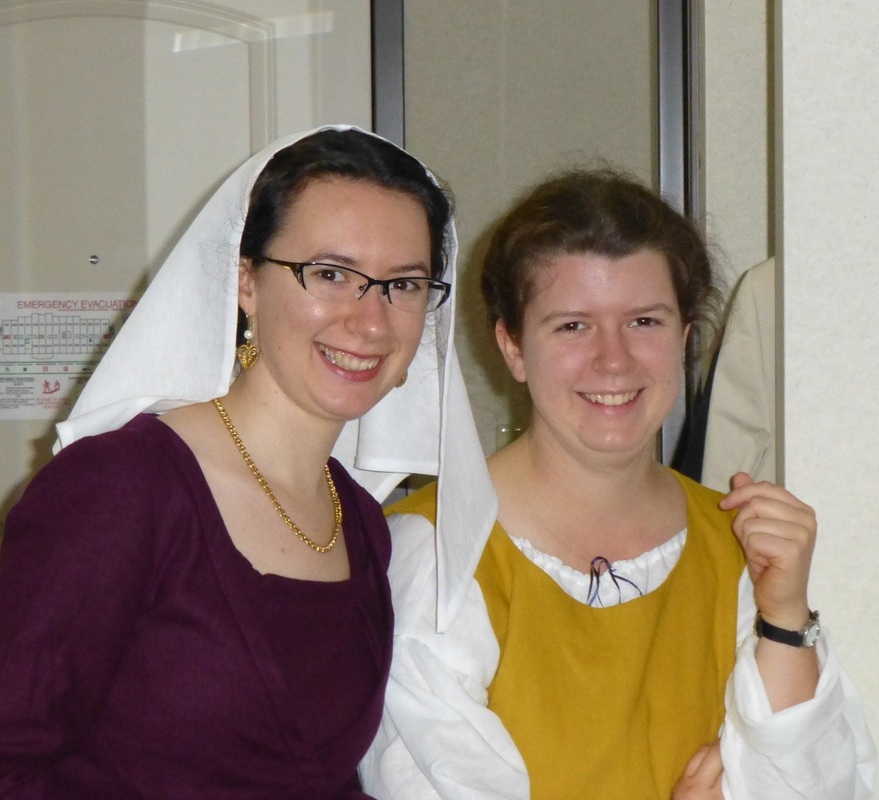
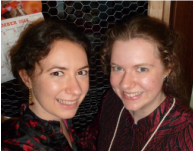
My lovely sisters...
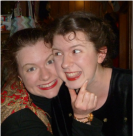
Being silly...
Lady Savannah
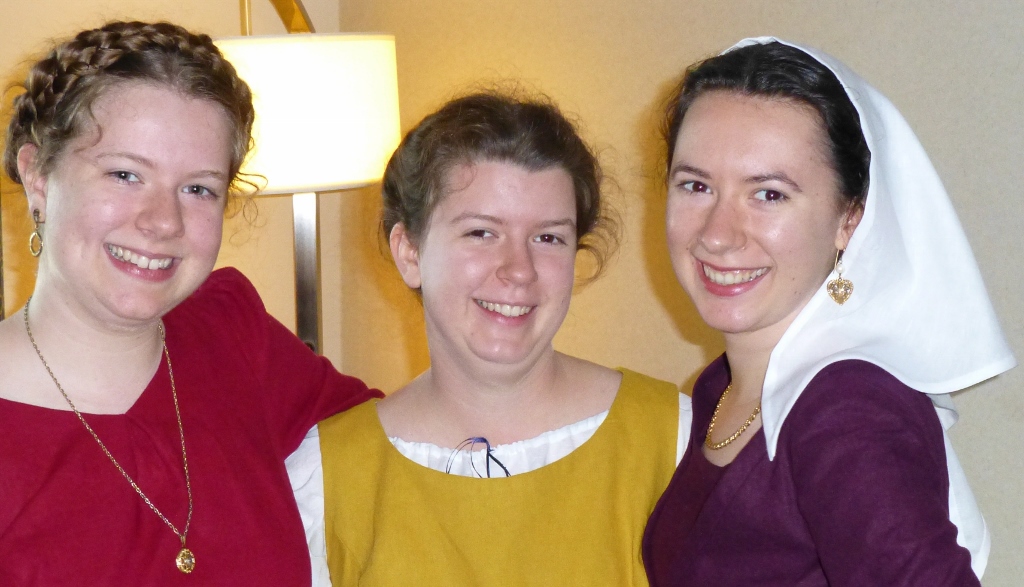
Sisters...
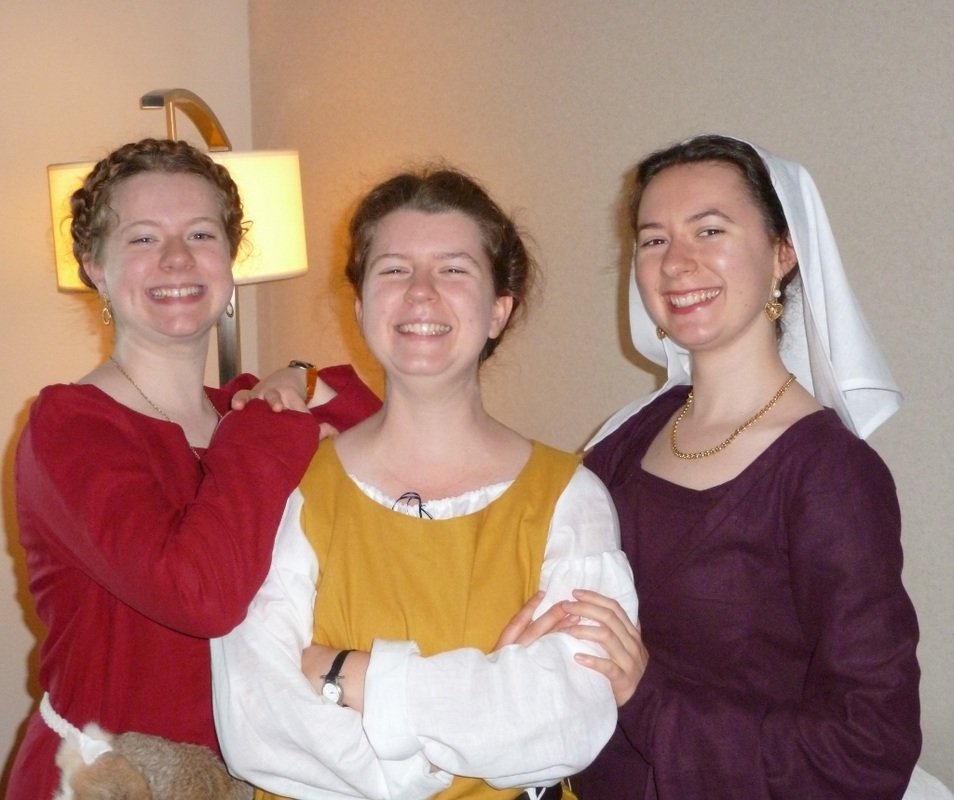
Goofy girls....
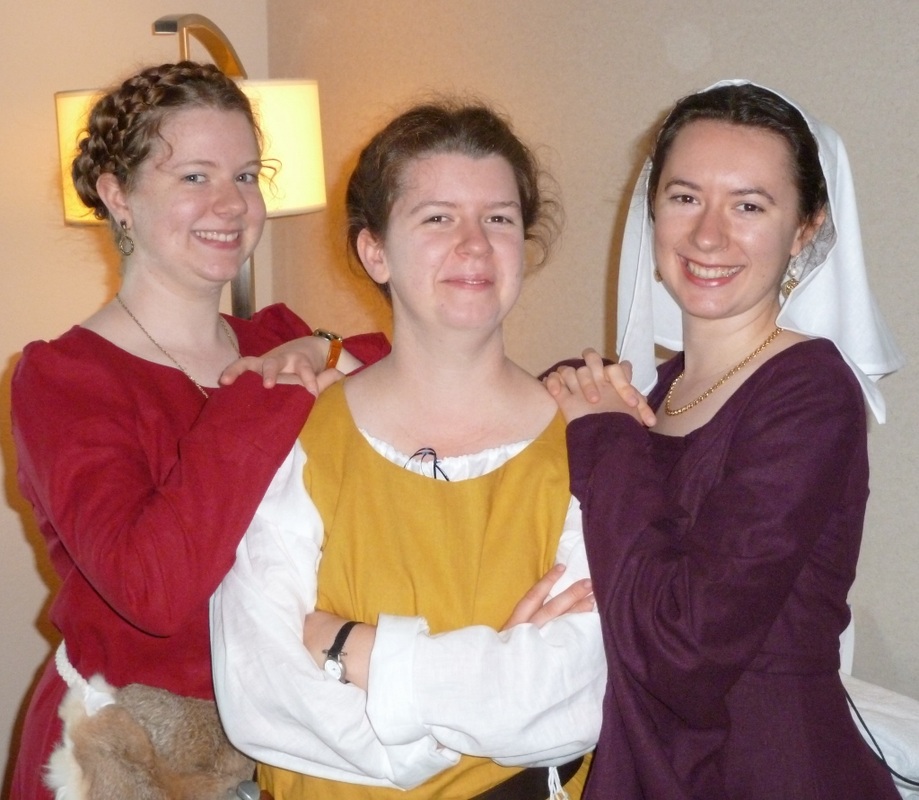
And more of the same...

Lady Racheal
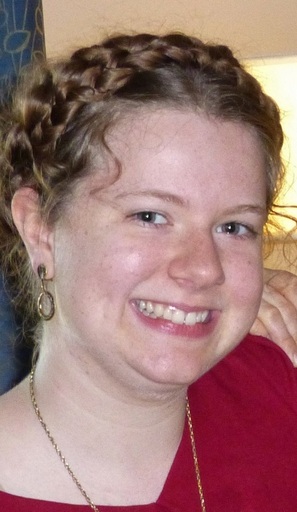
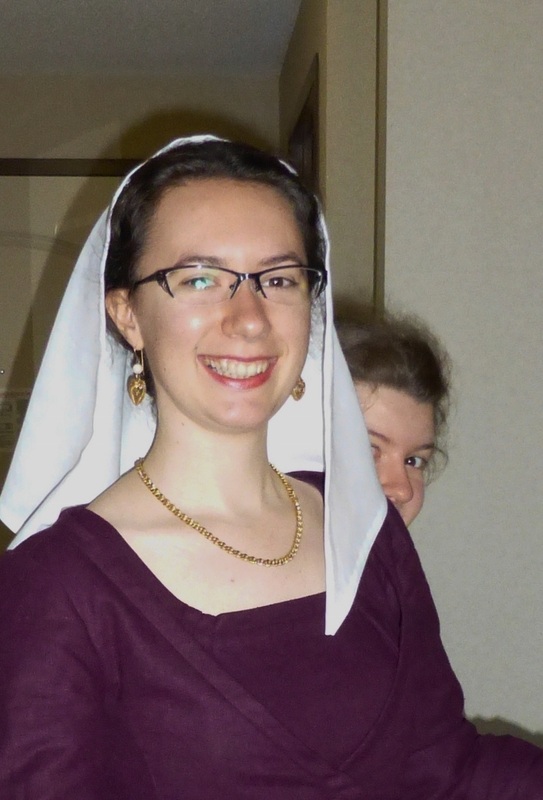
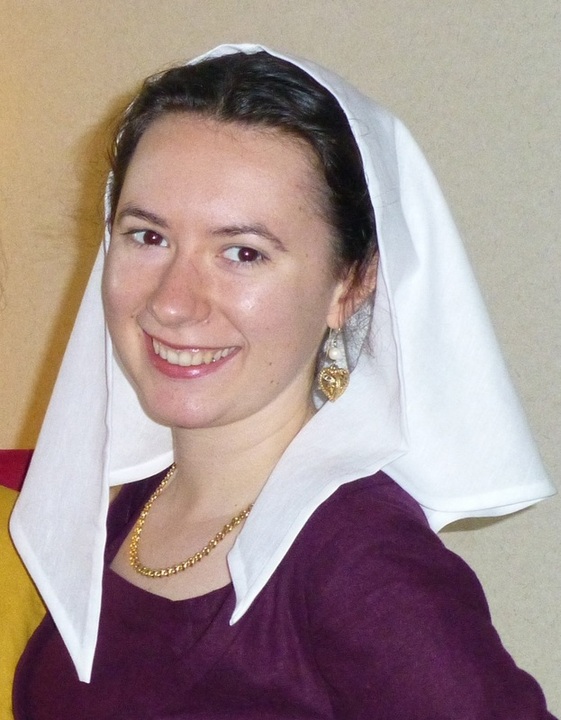
Katherine...
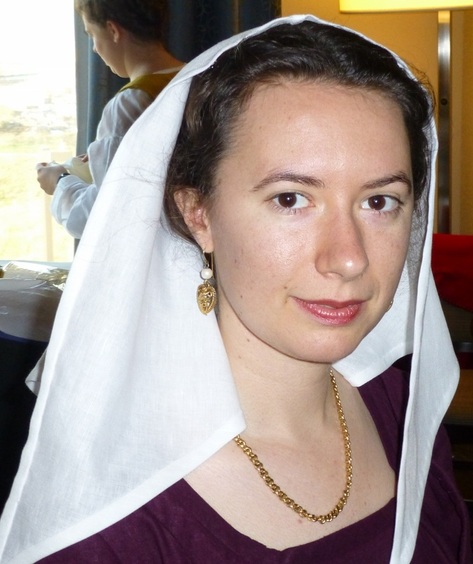
Savannah being beautiful again...she just can't help it : )

Mr. B and Benjamin
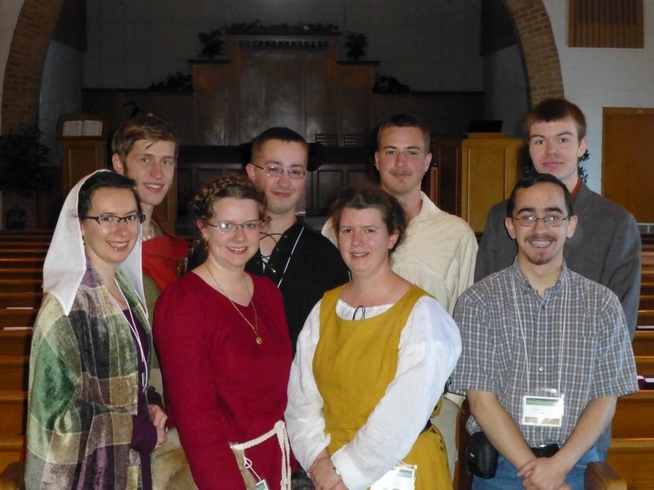
(Left to right, back row:) Peter, Daniel, Caleb, Andrew, (front row:) Savannah, Katherine, Racheal, and Andy. (Thanks to the fellow who took the group shots whoever he was...)
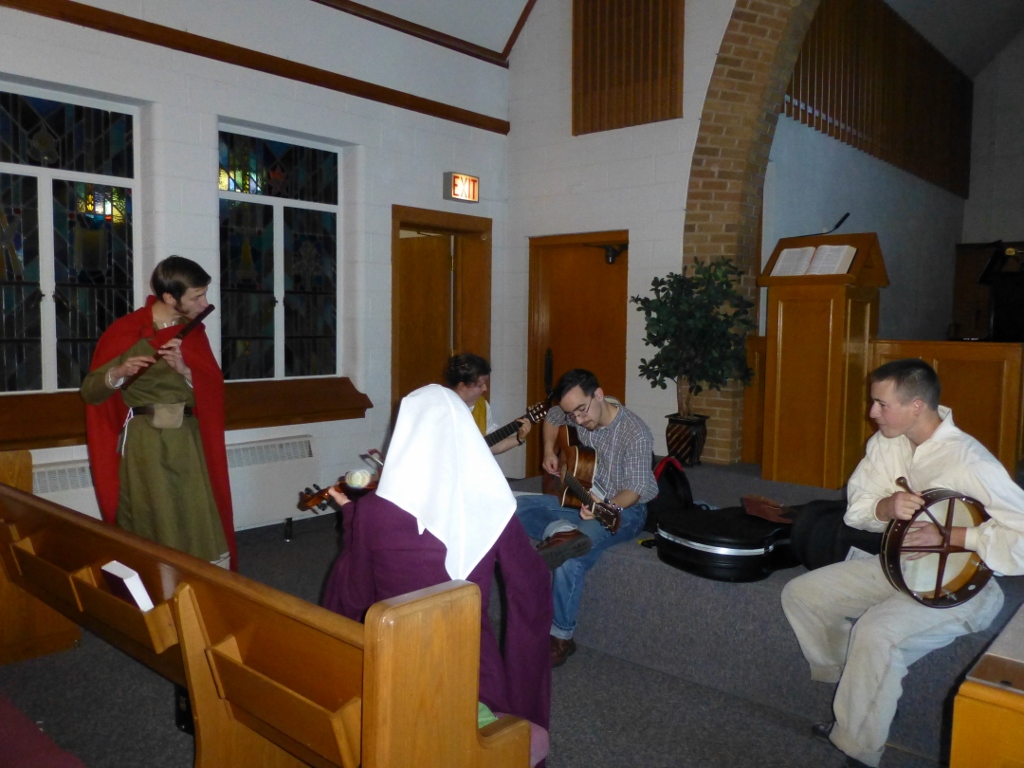
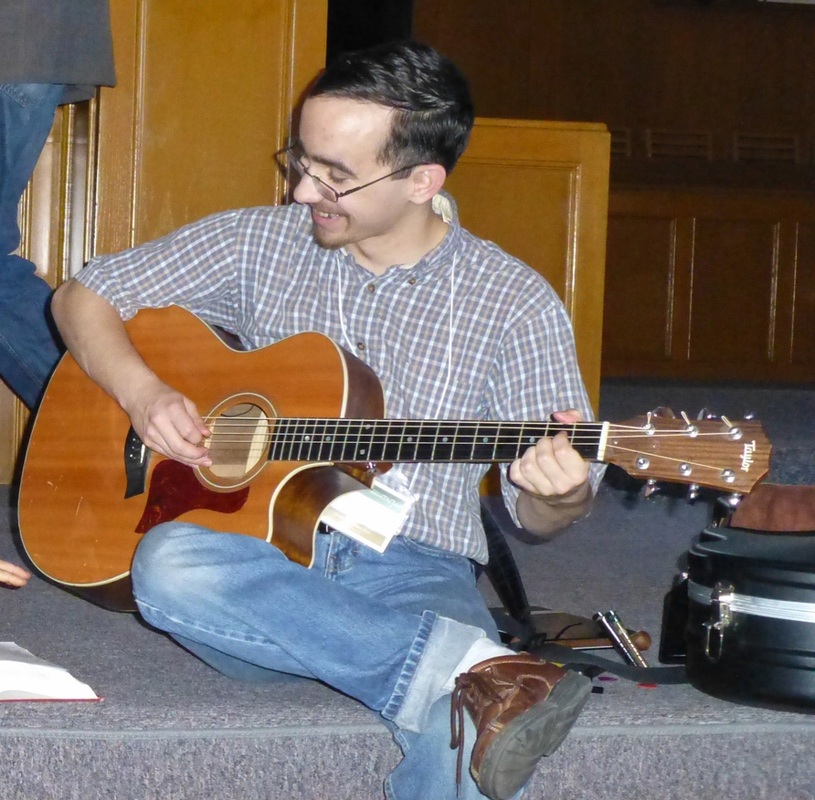
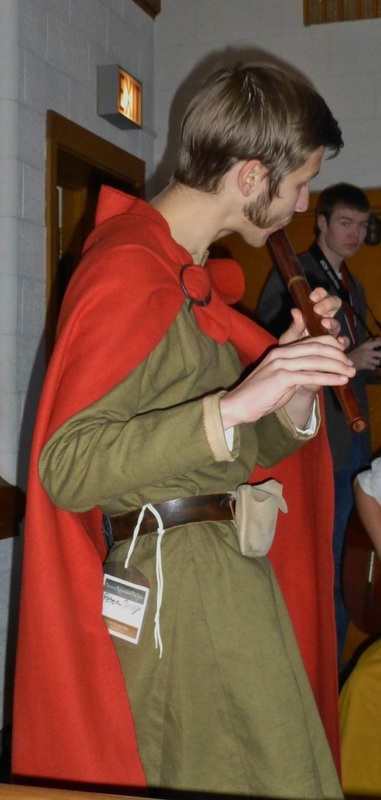
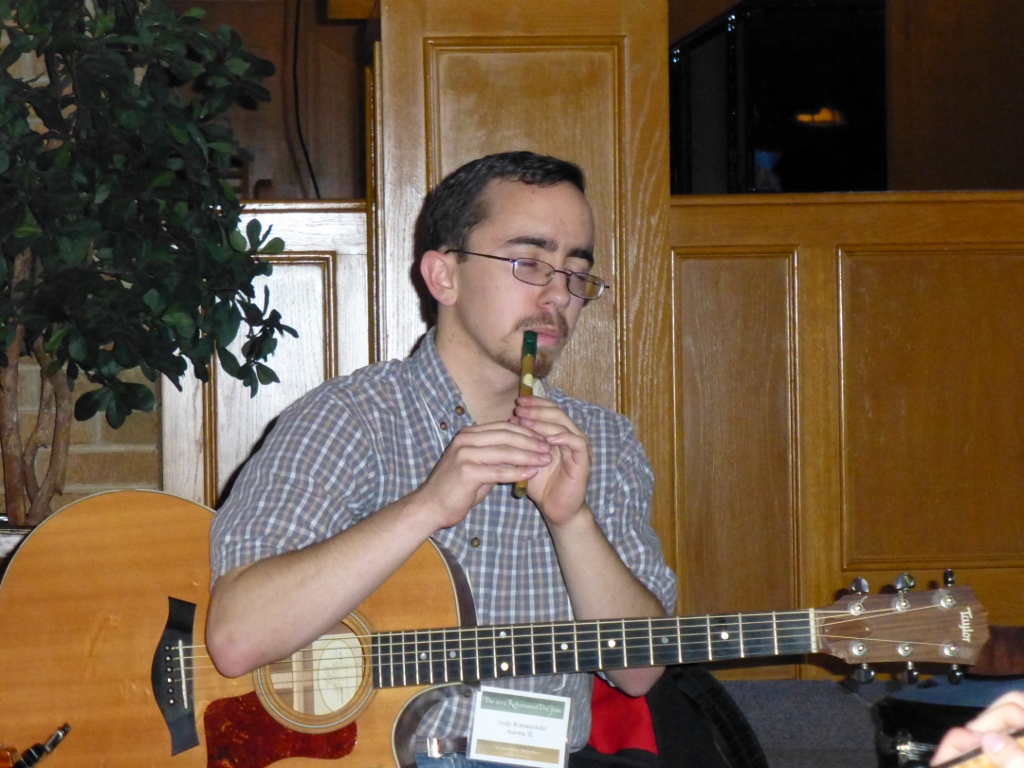
The jam session!! 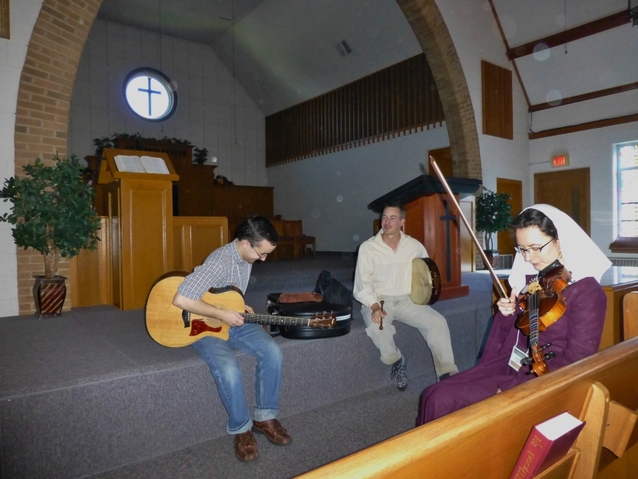

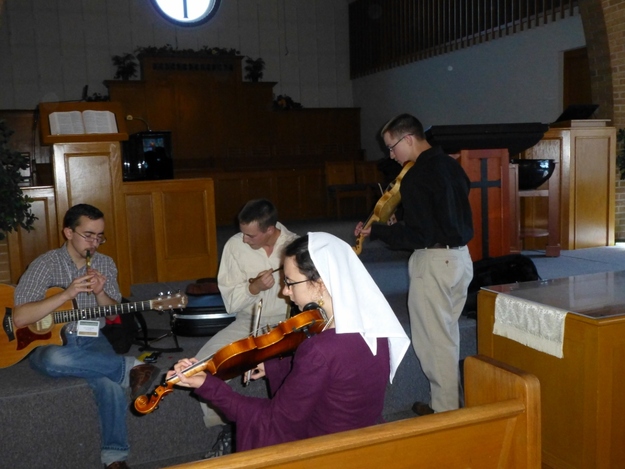

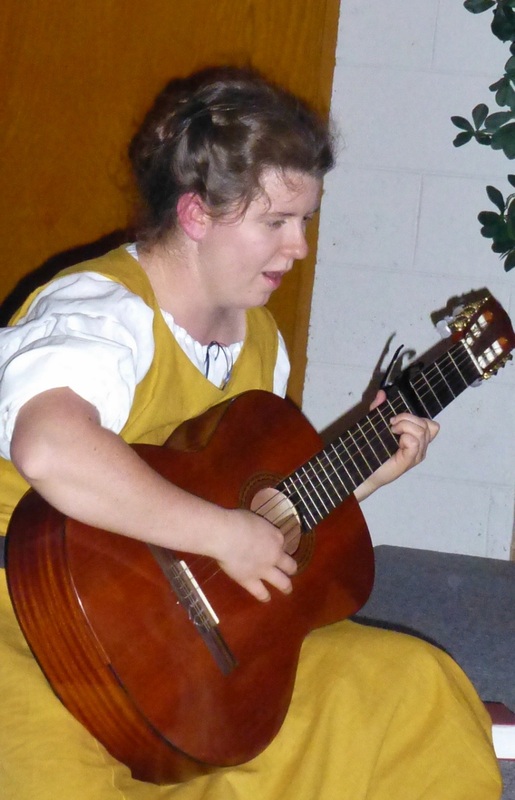
Singing Racheal...
Peter singing, and Cody who played the shaker, Savannah's violin, and his voice.
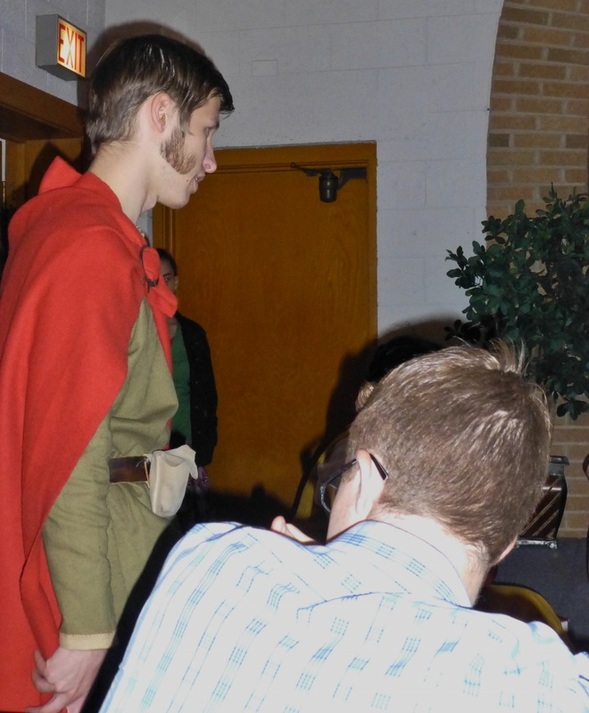
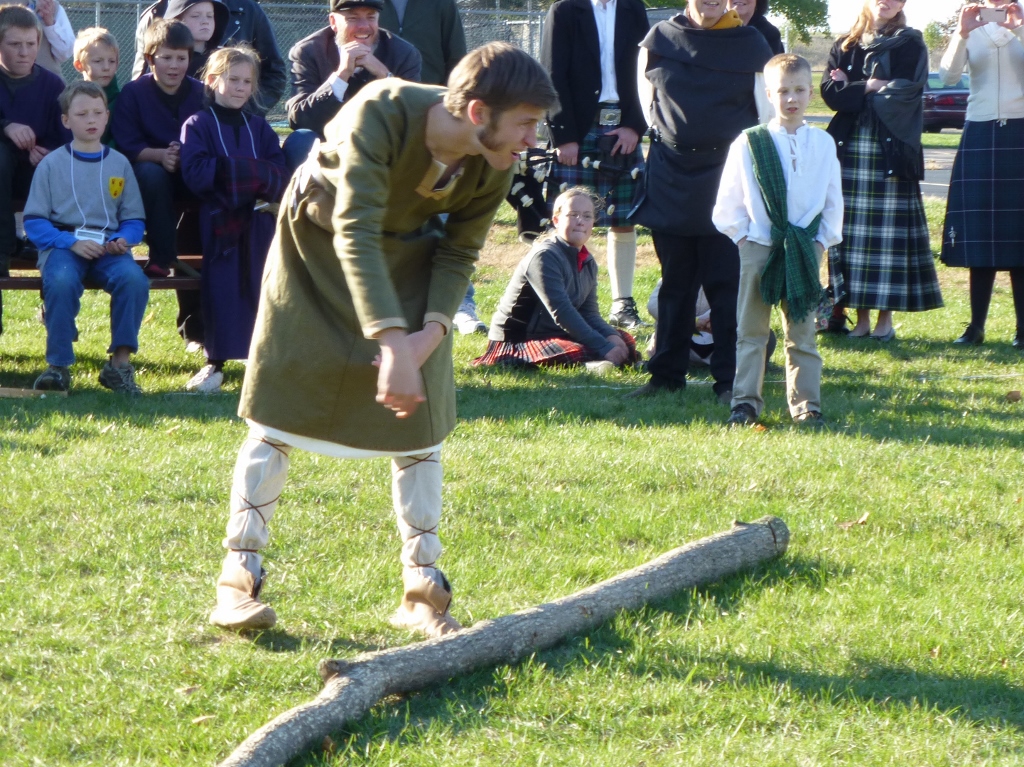
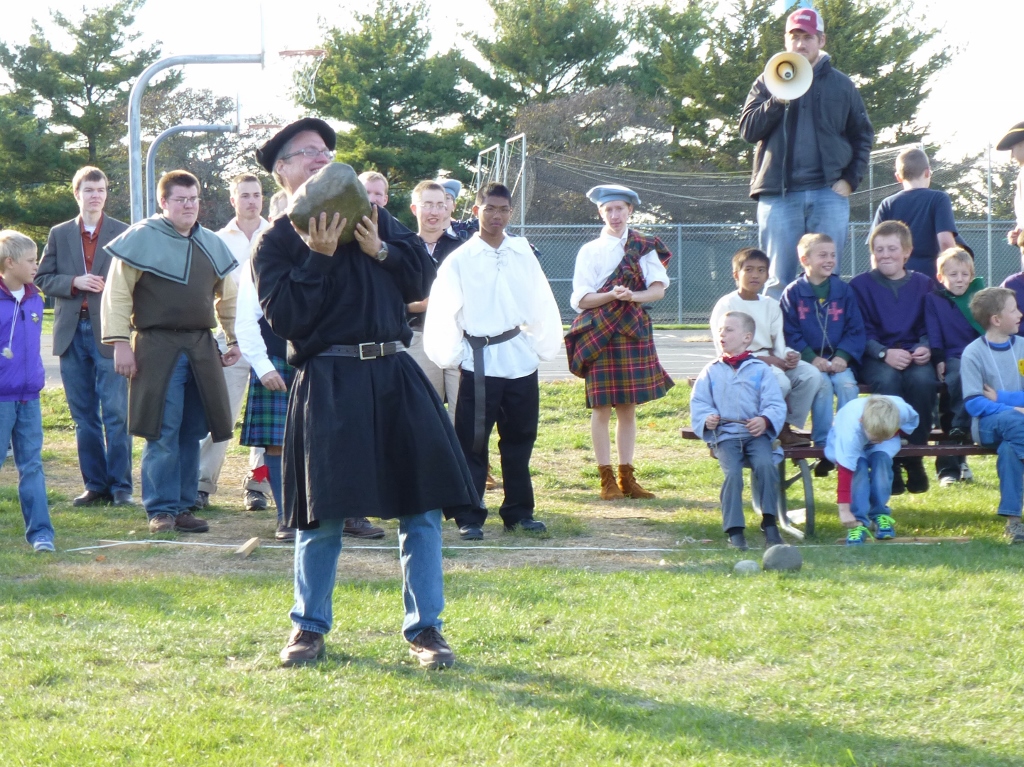
I played the tambourine and the shaker a little, but I mostly just listened and enjoyed... The Highland games! 
Go Thomas!!
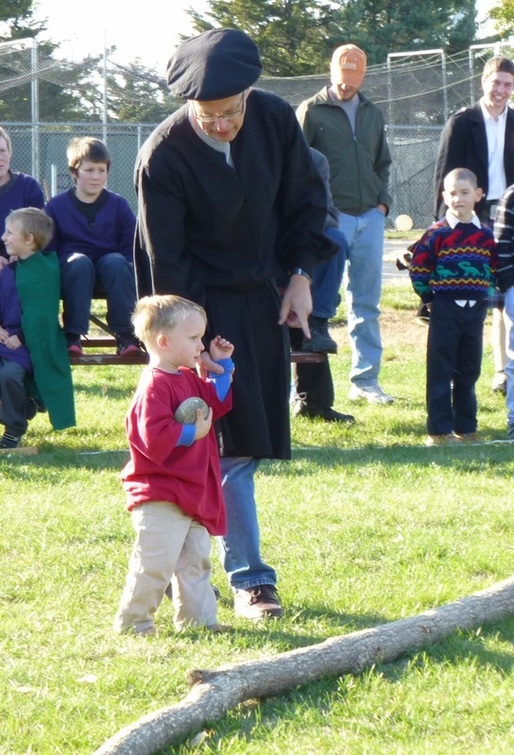
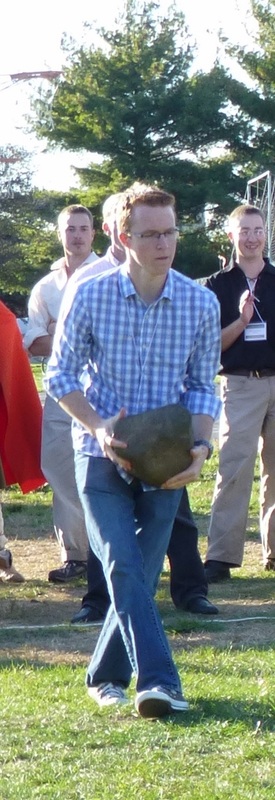
Mr. B and Benjamin throwing the little rock!
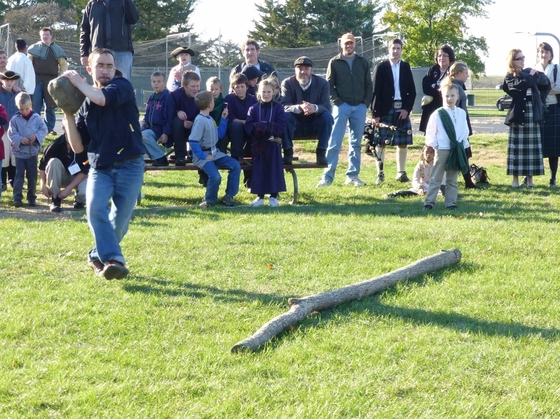
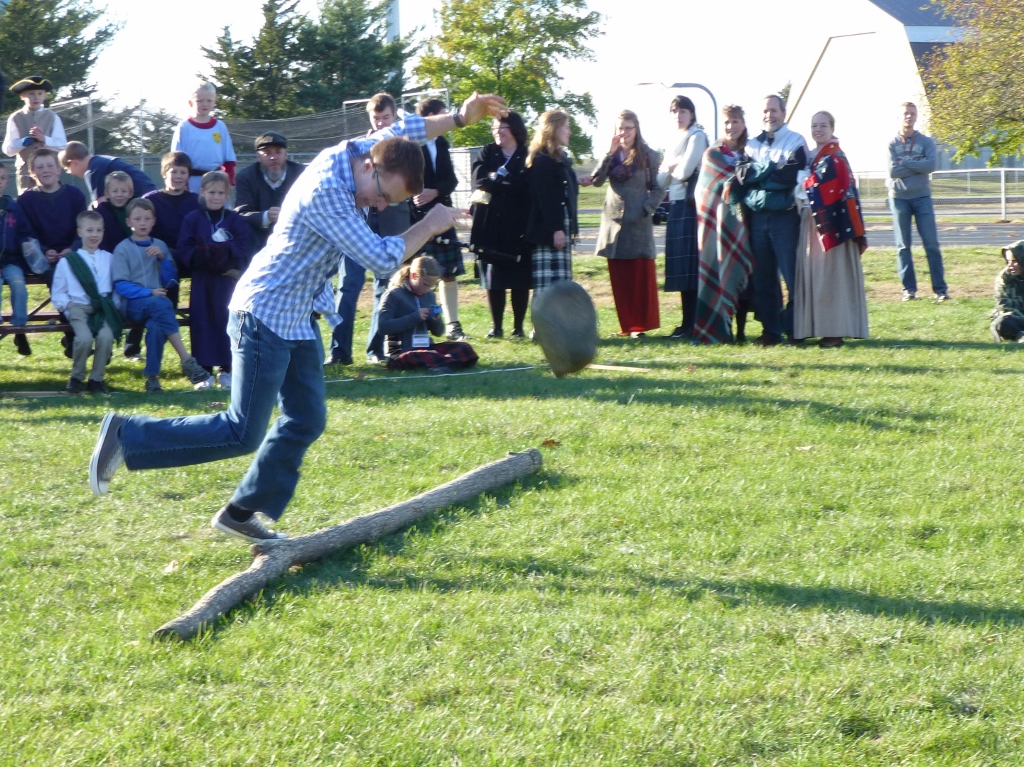
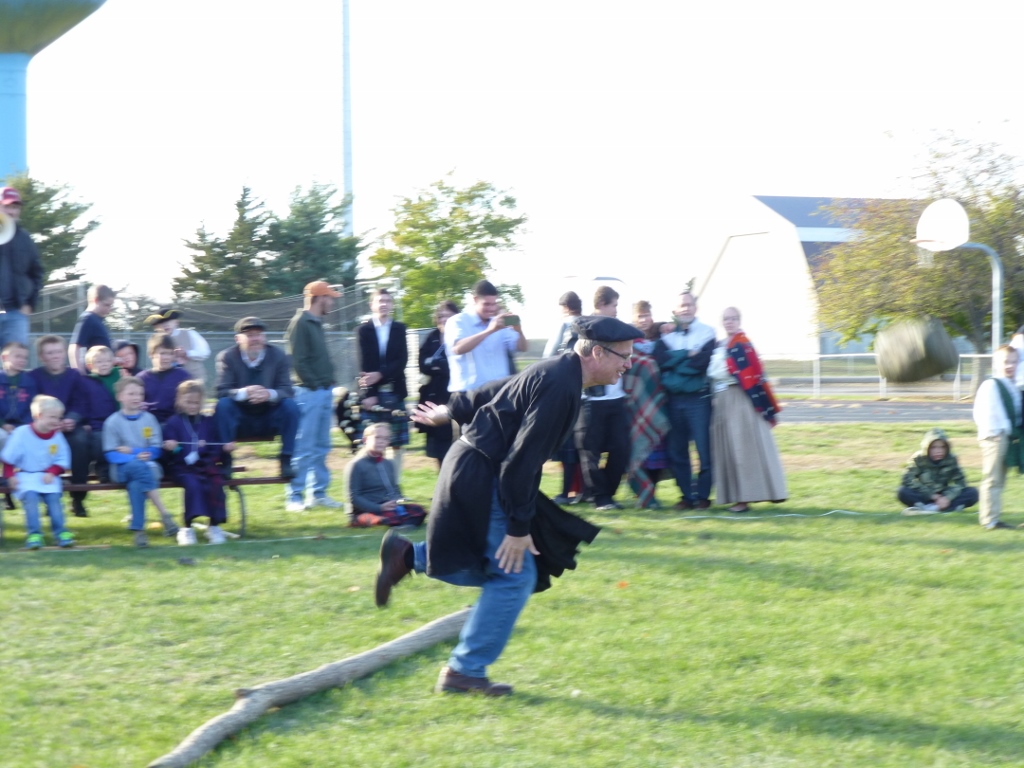
Andy throwing the big rock...

I have always been told that follow through is very important....looks like he has too : )
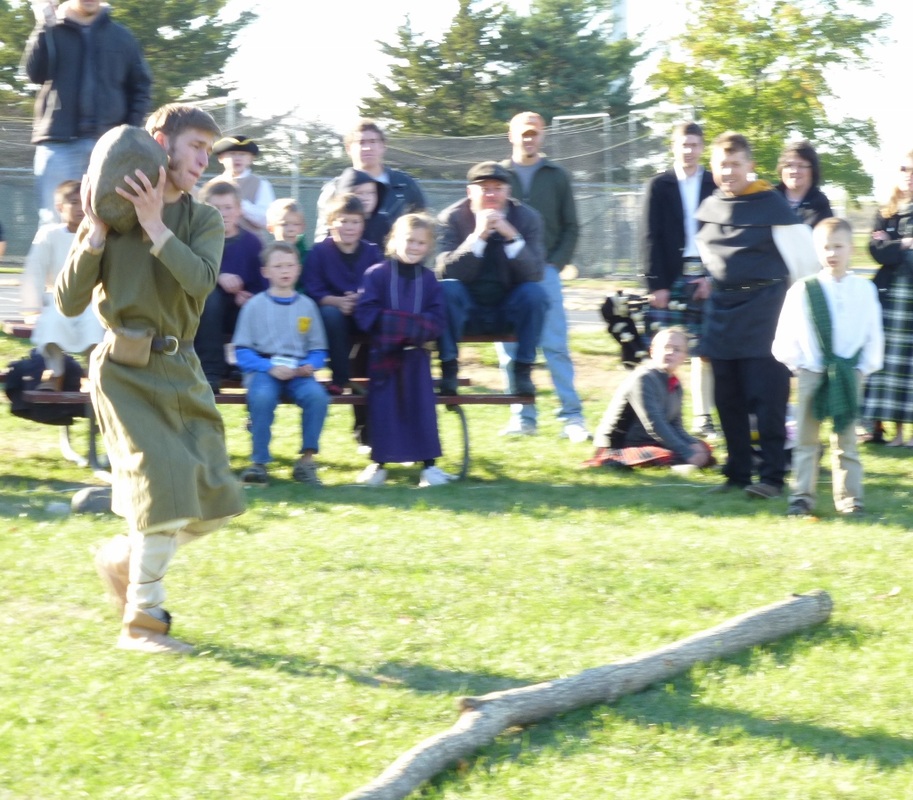
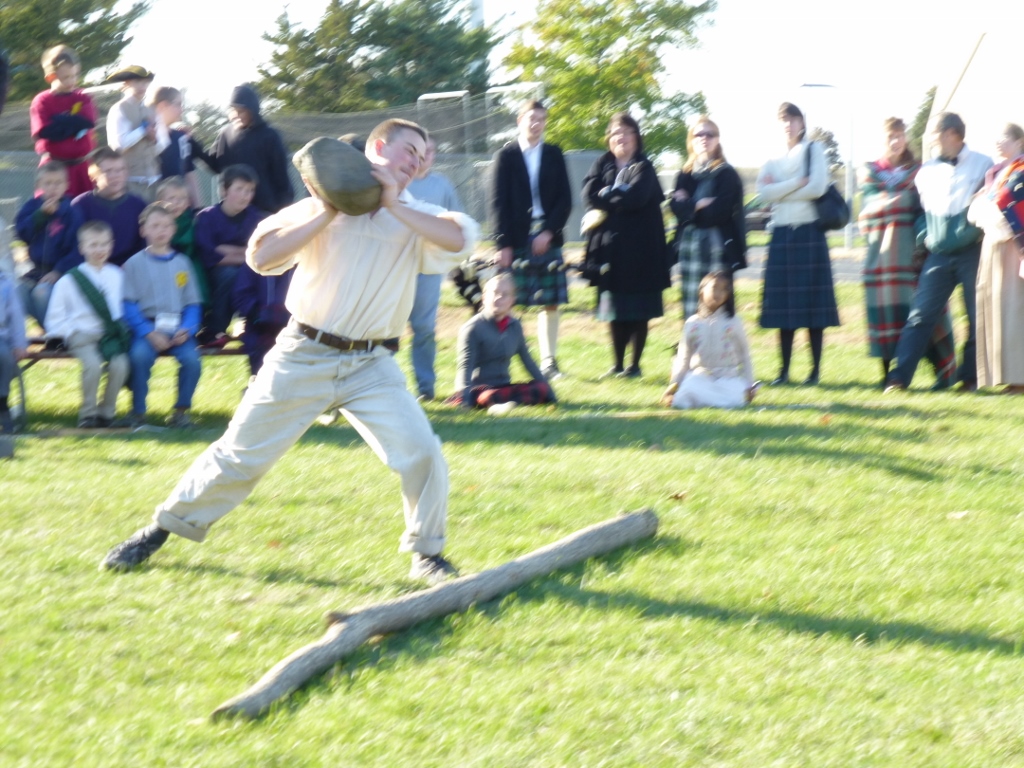
Peter and the big rock...
I think that was a "weight off his shoulder"...
Caleb's turn...he didn't win first place in the rock toss, but he did win first in the caber toss (congratulations!) ...but I hadn't started taking pictures at that point.
Cody looking determined...
Oops!! Oh well, at least everyone is smiling...
You can do it Mr. B!!
He may not have won...but he was having fun!
It was so very funny...the guys were supposed to go and pick the rock up and return it to the starting place for the next contestant, but almost all of them would forget, and the man with the mega phone kept having to say "Don't forget the rock!!" The Dance!! As is the nature with lots of people moving around at the same time, not many of the pictures turned out very well...but here are a couple... 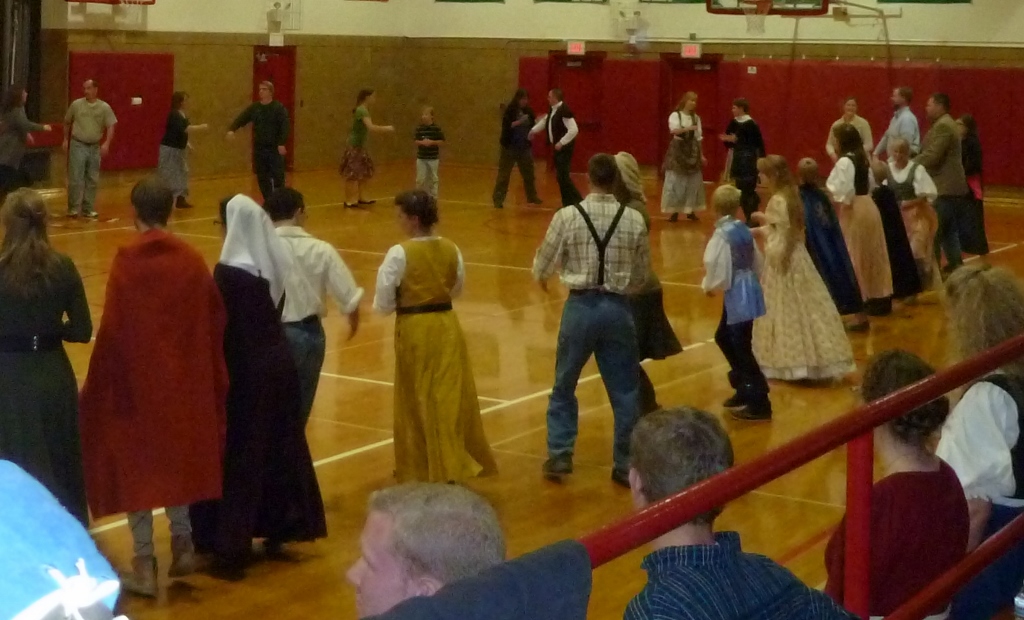
Peter, Savannah, Andy, Racheal and Caleb are the only folks in this picture whose names I know...well except for myself standing against the railing there...
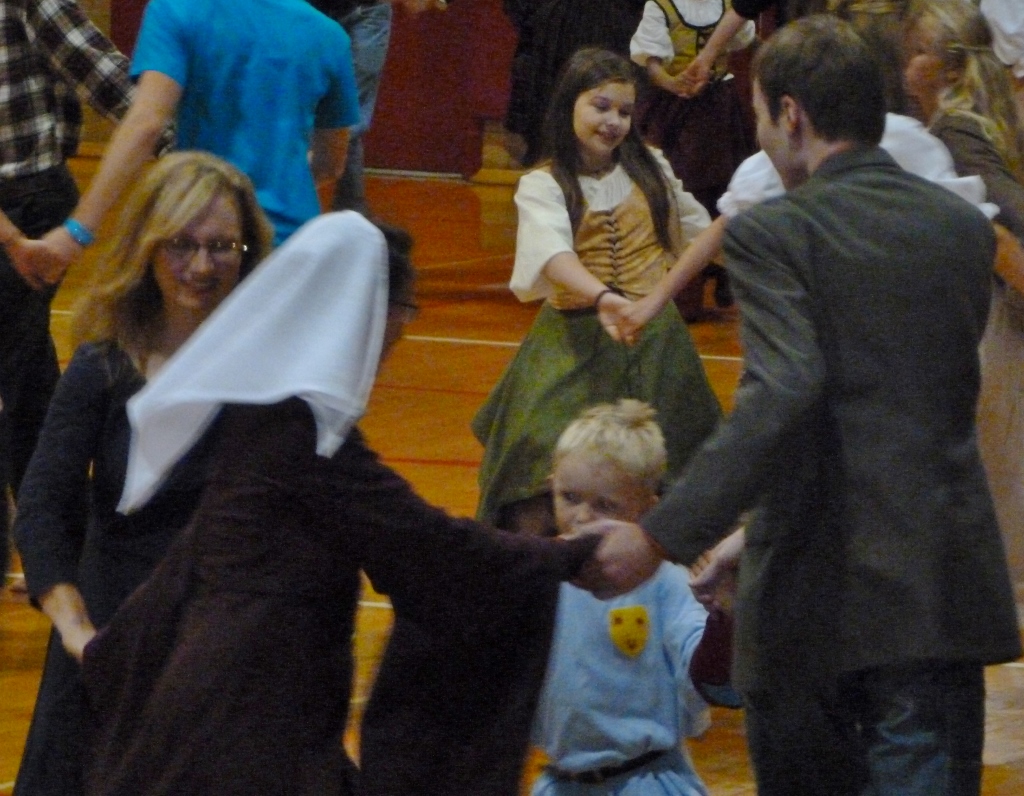
Mrs. B, Savannah, Andrew and Christopher all having a "ball"...so to speak : )
And that's all folks...
I was blessed with a wonderful time this past weekend and was pleased to be able to meet several "new relatives"...my brothers and sisters in Christ. May God bless all his children, and all his church. Hello folks! Here is my third "tutorial"...This style is a type of "quick" crown braid that I "invented". It is also for long hair. I call it the Turban Crown Braid... 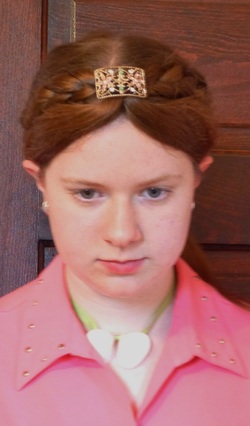
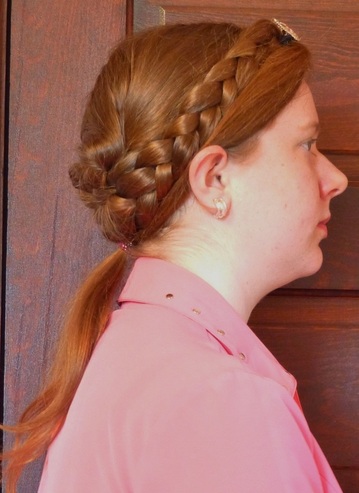
Alright, first you begin by parting your hair and dividing it into two halves...just like you are making regular ol' double braids. Which you are, but these braids only need to be long enough so that crossing over in the back, the end of the braid will be even with the middle of your forehead. Clear as mud right? (I'm good at that if you hadn't noticed :) ) 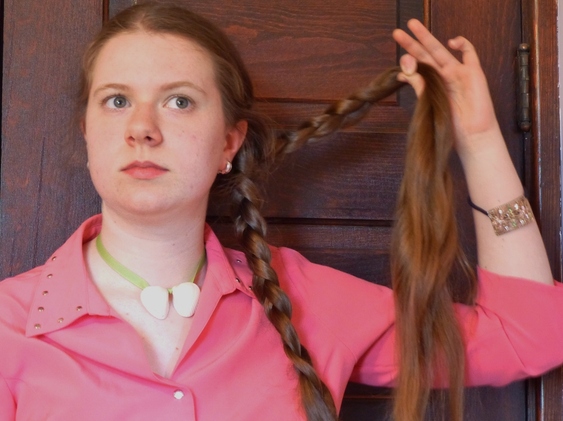
Now cross the two "half braids" in the back.... 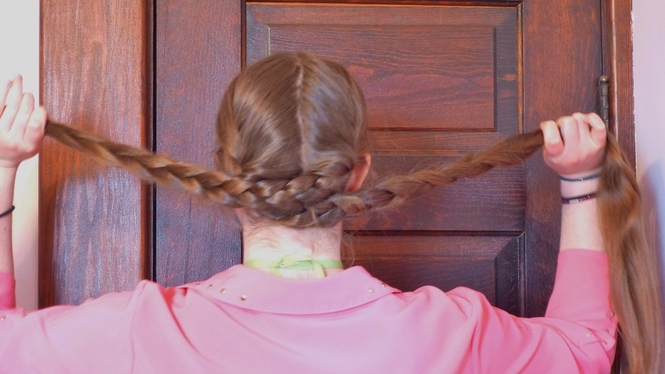
...and bring them around front and fasten them at the middle of your forehead. You can use a hair doey, or a clip...I have a hair doey that has a decorative piece attached to it...which is ideal for this style. 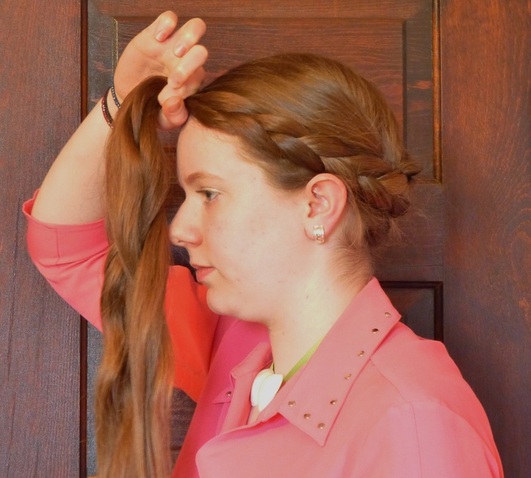

Separate your two braid ends and tighten them up (like you would a pony tail)...then "fold" them back until they meet at the nape of your neck and fasten them into a mini pony tail. 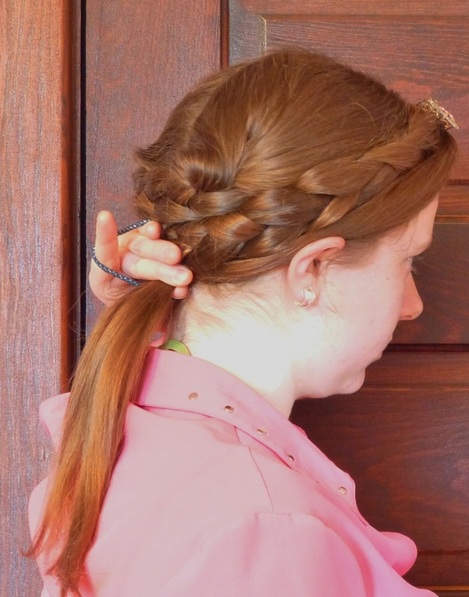
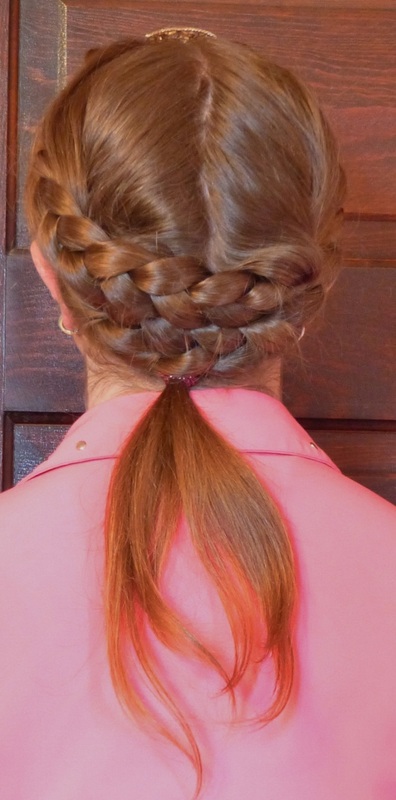
You may leave the style like this, or wrap around this "mini pony tail" and pin it to hide the hair doey. (Which I obviously did not accomplish in the picture below, but you get the idea...) 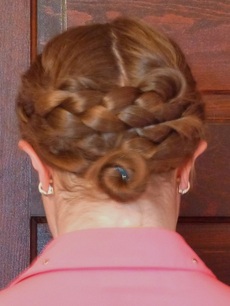
And that basically is the Turban Crown Braid! But there is this variation.... Once you have fastened the braids in front of your forehead, instead of leaving the ends loose, braid them. 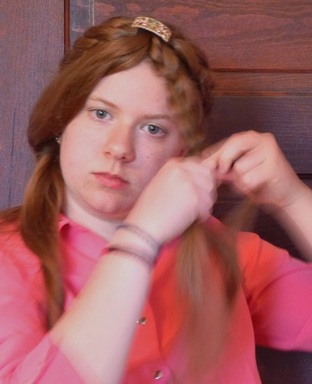
Then proceed as normal, only tuck them in behind the crossed over braid bases and pin (rather than gathering them into a pony tail). 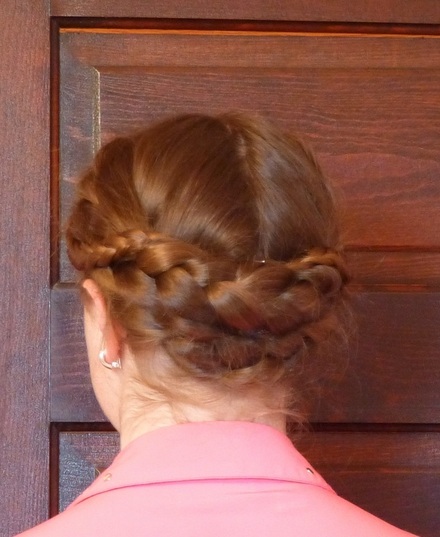
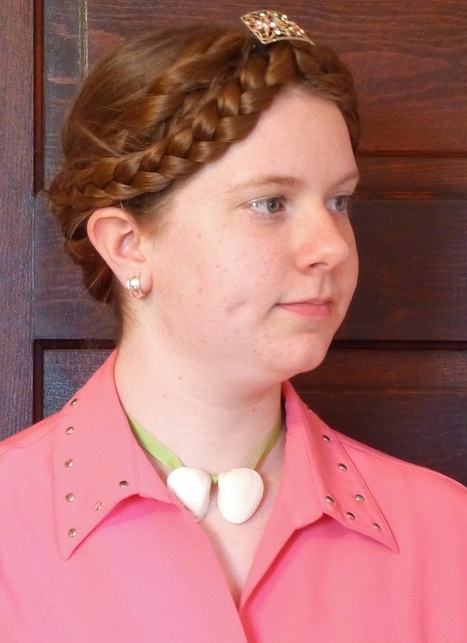
And then of course you could "re-use" the style and have these cool 'X' shaped braids! 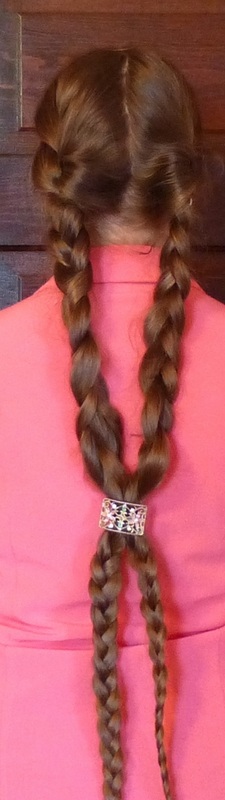
That is all of the styles that I have for now! I hope that you have enjoyed them! See you next time, KatherineP.S. Once again, I am sorry for the poor quality of my photographs....
Good afternoon! Here I am with my next hair "tutorial" post...I hope you enjoy. The pony tail for LONG hair... First, very simply, put your hair into a pony tail. I must use a stretchy head band instead of a regular hair doey because my hair is so thick. Next, "split" the hair just above the pony as if you were going to flip it...you are, just not yet, so you don't want the pony tail to be tight and taunt against your head as you would usually. 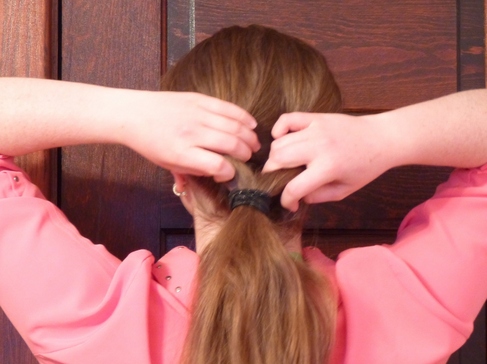
Divide your pony tail in two, braid each section, and fasten both ends (separately). 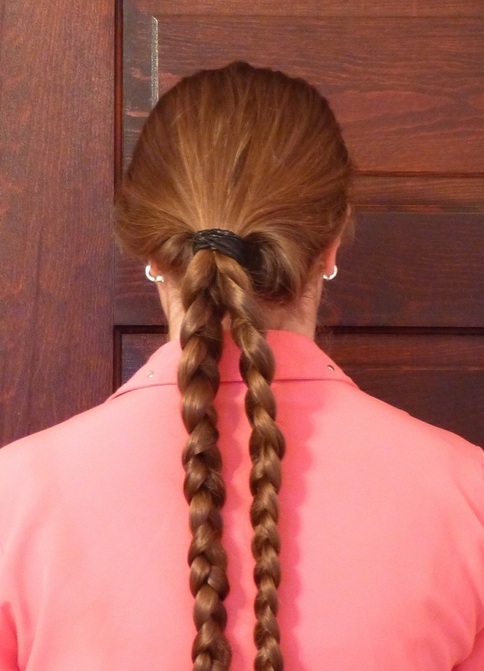
Now comes the part where you are going to "flip" your tail...or tails as it is now. Pull the braids up through the "slit" above your pony tail holder. Be sure that you flip UP not down...Once you have done the "first flip", and now have both braids sticking out ON TOP of your pony tail holder, grab both of the sides right by the pony holder and pull it tighter, just like you would tighten any loose pony tail. You want to make it a little tighter to your head at this point. 
You will need to repeat the above process of looping until the braids become as short as you want your pony tail to be. You can see in the photo below, I am pushing the skinny ends of my braids up through the "opening" with my thumbs. As you will have multiple loops of braid, be sure that some are rather pulled to the side, so they don't just pile up, one braid loop directly on top of another, the affect will be flatter and better in the end... 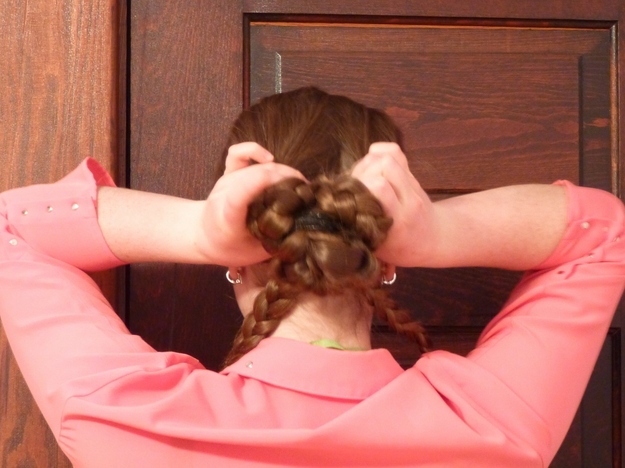
Okay, I have the braids looped until they become as short as I want my pony tail to be...I know, it looks kind of dorky at this point, but we're not done yet! 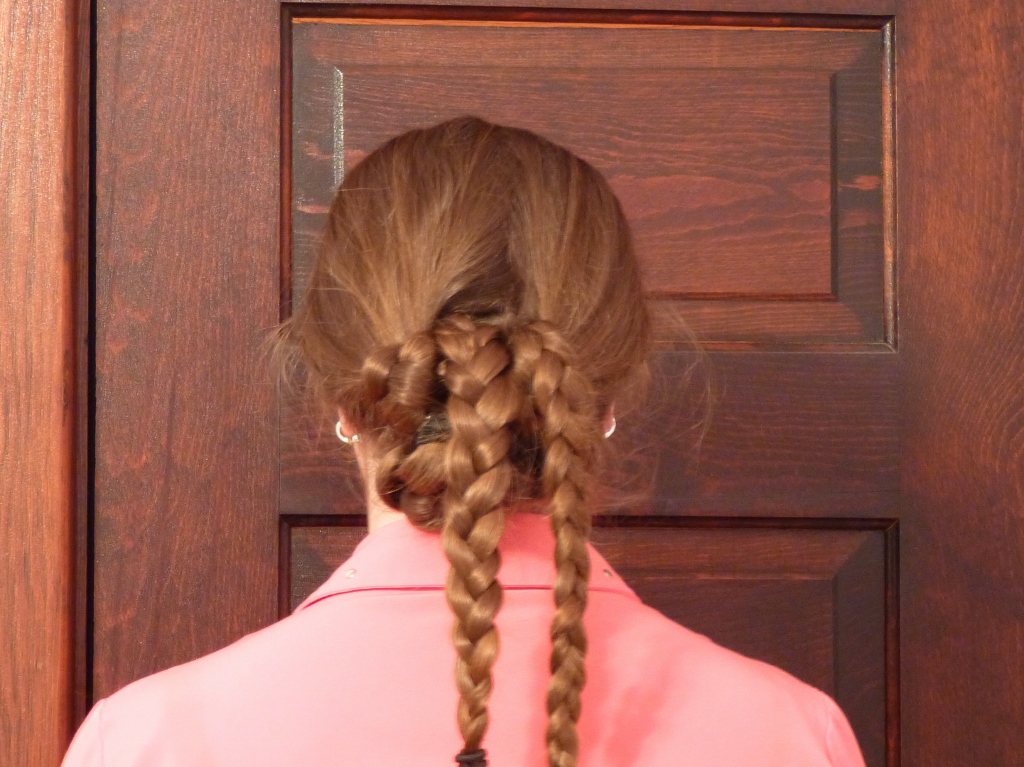
Now fasten the two "short braids" together with a doey... 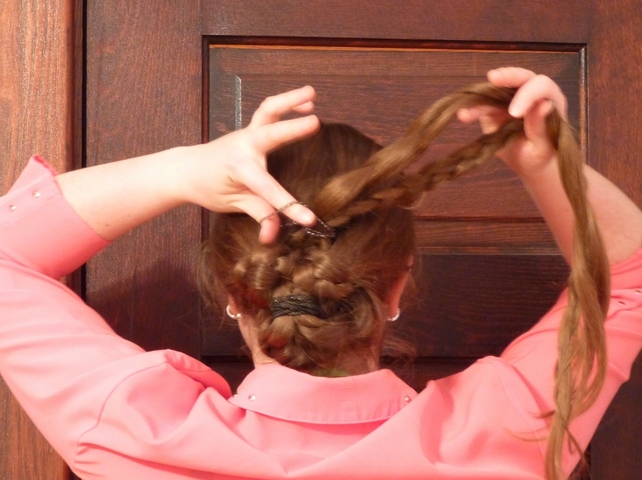
And then un-braid them! You may wonder why that whole process of braiding and unbraiding was necessary...let's just say it makes looping all of that hair a LOT easier, and keeps the whole style from being loose and floppy...it makes the end result more snug and a lot less knotty! 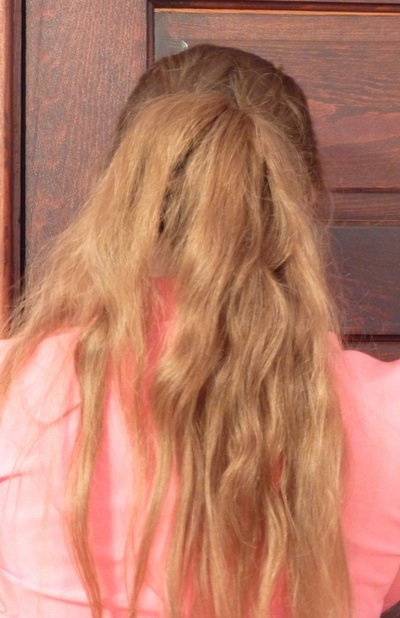
If your covert bun feels too floppy for your comfort, you can place a clip below it to help support it, I don't usually though. 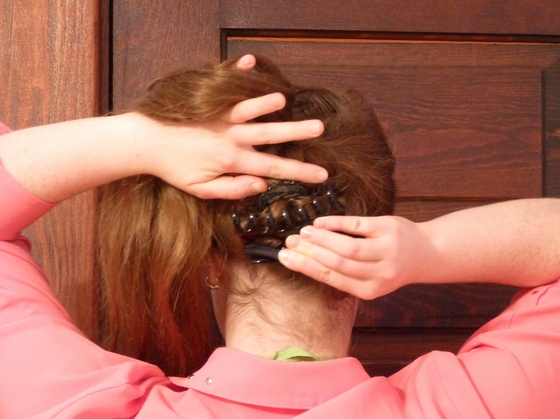
This style also works great for double pig tails (now why is one a pony tail and two are pig tails??). The "covert" buns tend to show a bit more when worn in this double style. But overall, it works great! 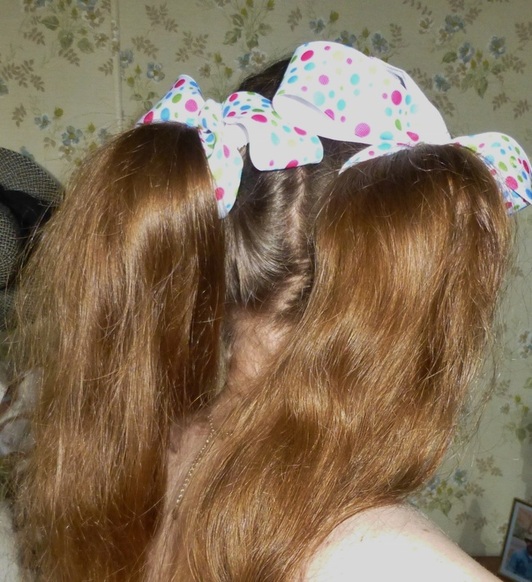
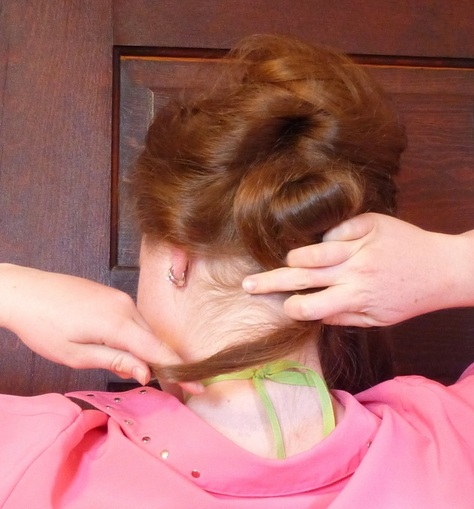
Of course all of that rigamaroll is completely unnecessary if one has shorter hair, but if you have hair that is quite long and don't have practical place or occasion to wear a three foot long pony tail (or pig tails), this hair style makes it possible to wear shorter "tails" without the threatening thought of cutting one's hair!! Hope you enjoyed :) Au revoir! KATHERINEHello everyone! No, I have not fallen off of the planet, I just do not get to posting blogs very often as I stay rather busy most of the time...but anyway, finally, after oh, probably a couple of months of my sister begging me (okay, begging might be a little strong, but it sounds good in the writing) to post these "hair tutorial" pictures I am finally getting it done!! So here you go Racheal! I do apologize for the somewhat fuzzy quality of most of these pictures, I do not know why they turned out that way, I must have had my camera on the wrong setting or something... Starting with the 1700's up-do... Gather the hair from the front and top of your head (the "crown" of the head I believe it's called, right?)... 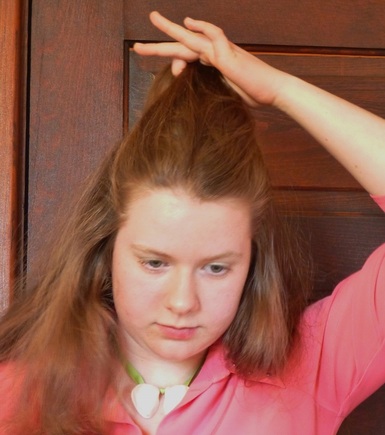
And put it into a pony tail...like this: 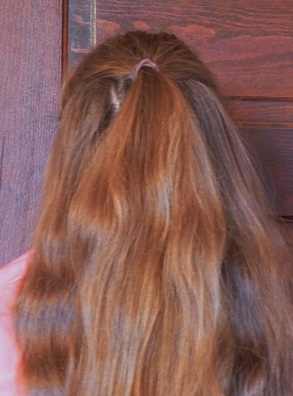
Next, you take this portion and you roll it...I know, it sounds challenging, and it is a bit, but it can be done. Wrap it around your hand like this: 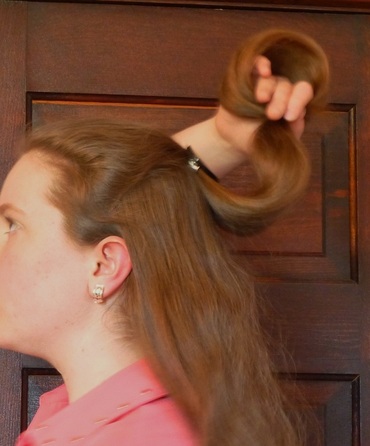
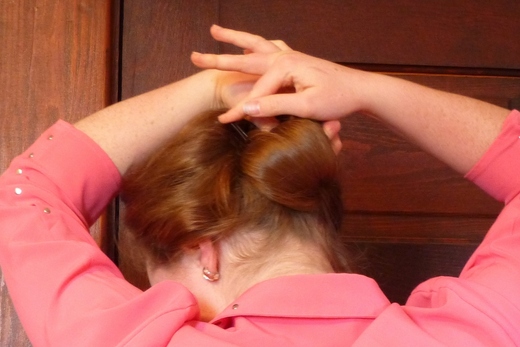
Complete the roll, and lay it flat on the top of your head, now pin it. If you have hair that doesn't mind bobby pins, then you can use them to secure this "roll" to the top of your head; however, if you have hair that rebels against bobby pins, like mine, you can use a clip (it must be one that can hold quite a bit of hair), and clip all the hair of the bottom of the roll to the hair on the top of your head. Clear as mud? 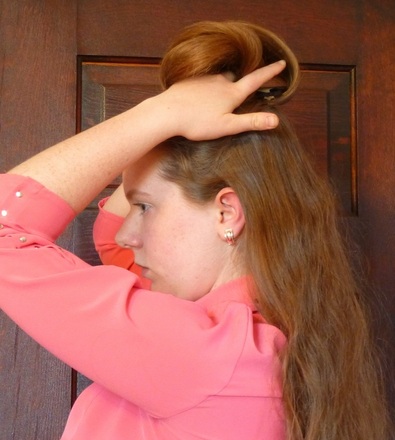
Pin roll, and adjust so that it "looks right"... 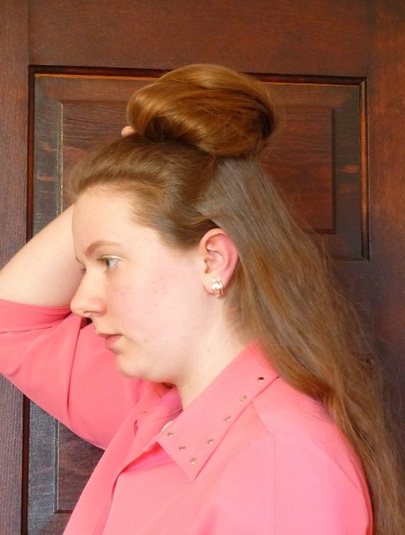
Now take the remaining hair and pull a section aside. 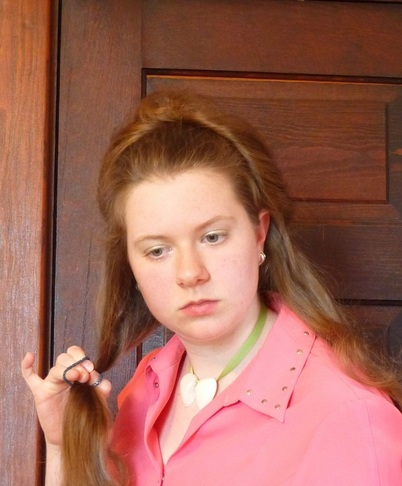
Take the rest and tie it.... 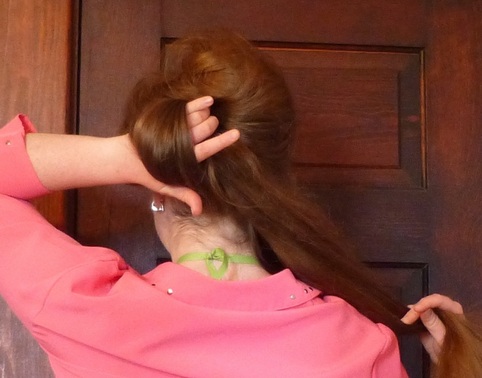
...in a knot...wrap around the tail, and pin. 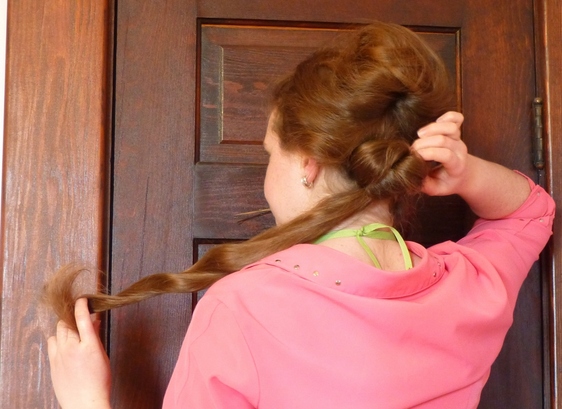
I was able to use bobby pins for this part of it...because it was such a tight little bun the bobby pins actually stayed in. I think I used 4 big bobby pins, two on each side. You should end up with something that looks kind of like this: 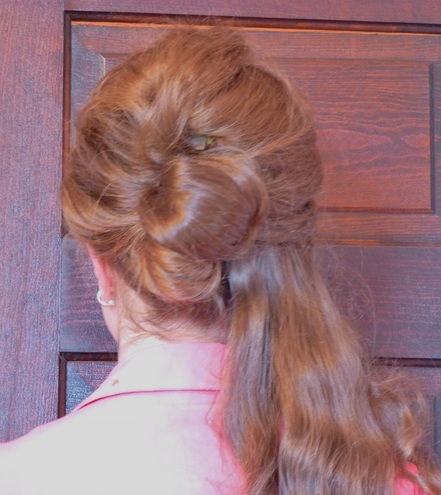
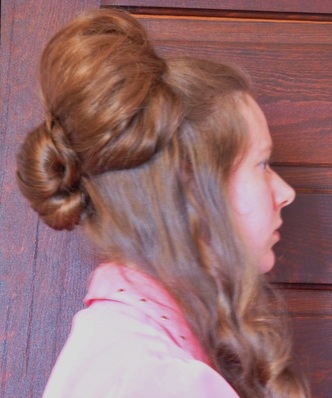
Take the section you separated out and curl it... 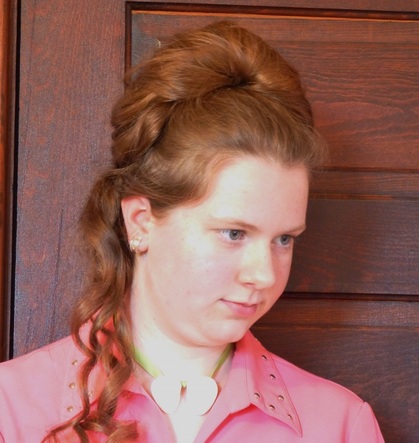

Although it may look like the entire side section that I have curled, it actually is only the very ends...I took the rest and pined it up unceremoniously in the back so that the hair style would come out looking like it was supposed for the picture. I decided that because of the fact that a three foot long side section of hair cannot be curled very easily (if at all) that this hair style would be preferable for those ladies whose hair is not quite as long as mine....However, there are some variations for longer hair. Variation 1: After you make your "roll", take all of your remaining hair and knot, twist 'round the ends, and pin. You just won't get any curls :) Variation 2: Once again, after making your roll take all of your hair and knot it, but don't wrap around the tail. Pin it and let the remaining hair drop... 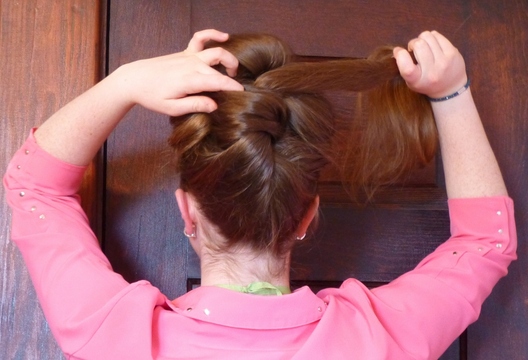
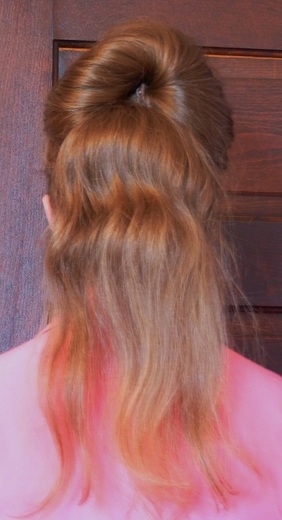
Here you can see that my hair doey (okay, I know it's a weird name, but that is what I have always called them, because you do your hair with them right?), otherwise know as an elastic, hair tie, etc. is showing at the base of my "roll"...If that happens to yours, you can kind of cover the hair doey up, and pin the cover up section in place....just use your common sense and you'll do much better than trying to listen to my weak attempt at instructions :) Or you could just ask someone else to put the whole thing up for you :) 
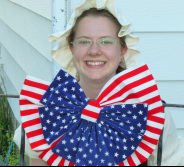
Then curl your "tail"! Which I obviously didn't, because curling takes a long time, and I was planning on photographing a few more hair styles that afternoon... One more note...you may have noticed that in some of the photos I have a clip in the place of a hair doey (laugh if you must), now that is the way I did it originally, but found that the clip kept awkwardly showing. The hair doey really blends in quite a bit better, especially if you use one that "matches" your hair (not something like florescent orange or anything :) Well, unless your hair happens to be florescent orange...but that wouldn't be very 1700's period correct....) Alrighty, well I hope you enjoy! I do have a few more styles to post, but at this time there is a kitchen and in it dirty dishes to wash! And then I shall make pizza! (GAPS approved.) So until next time, KatherineThe other day we got to visit with some friends...I had a good time and got to eat some good food and learned how to play chess and make duct tape hair bows :) Thank you all for a good time!! Picture: 1) Lucy showing me how to make duct tape hair bows. 2) Sam showing me one of his precious trains. 3) Me, modeling the hair bow that Lucy made me. 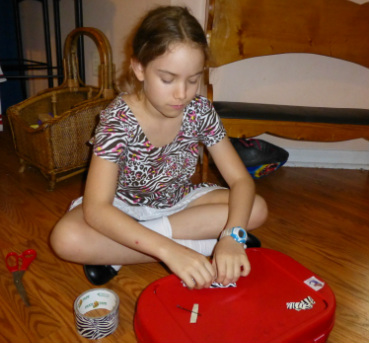
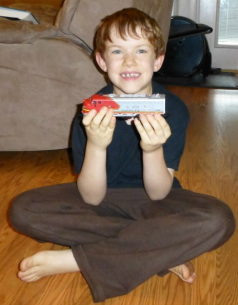
Have a Happy Day!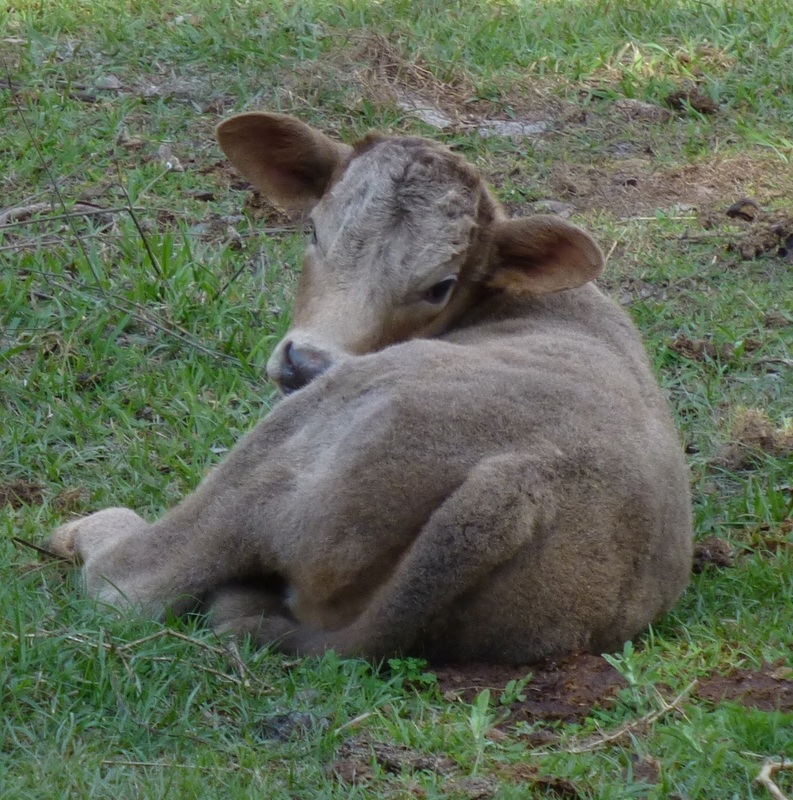 Frances the new baby...  A lovely sky... 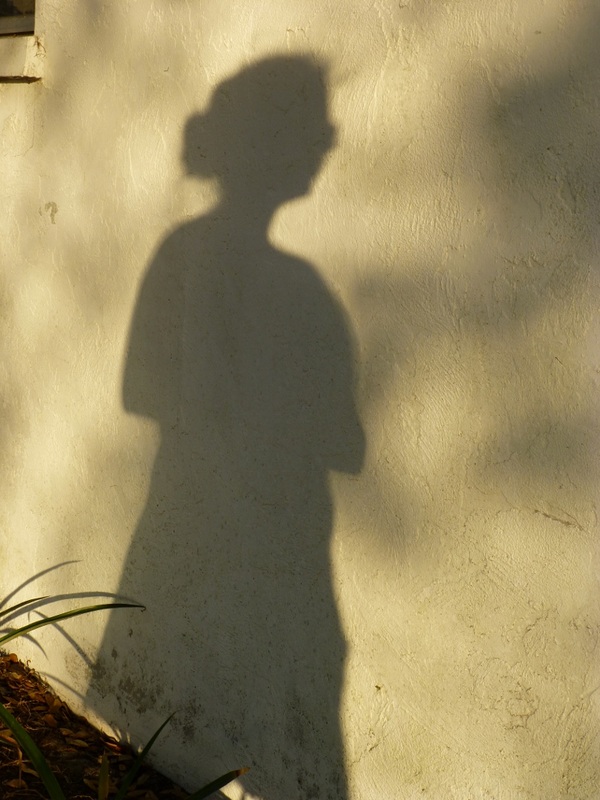 Who's that!?! Well, I reckon it's me :) 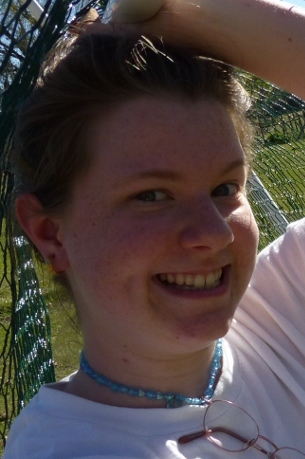 See ya next time!!
My sister and I have been making chicken coops for the fuzzy little balls squawking around in large cardboard boxes in the garage...We have the triangular coop's frame finished and today we got finished covering the rectangular one with wire today....all it needs now is some sort of fastener to keep the door closed. I suppose we will be covering the triangular one with wire soon. Here are some pictures.... |

Links:

Archives
January 2019
Categories
All
|

 RSS Feed
